

A fast website with a blog, search and a contact form, hosted free
In short: copy the free
vitepress-blogtemplate on GitHub, edit it in the browser, and GitHub Pages publishes it at no cost. You get a blog with tags, search and an RSS feed, plus a contact form whose messages BootForm emails to you on its free plan. It takes about fifteen minutes and nothing to install.
You can have a website with a blog, tags, full-text search, an RSS feed and a contact form that actually sends you the messages, without paying for hosting and without installing anything. This post walks through it start to finish, in the browser.
What you end up with
- A blog with a post list, tag pages and an RSS feed, all generated from a folder of text files.
- Search across every post, running in the visitor's browser.
- A contact page whose messages land in your inbox and in a dashboard.
- A live address like
https://yourname.github.io/vitepress-blog/, served by GitHub Pages.
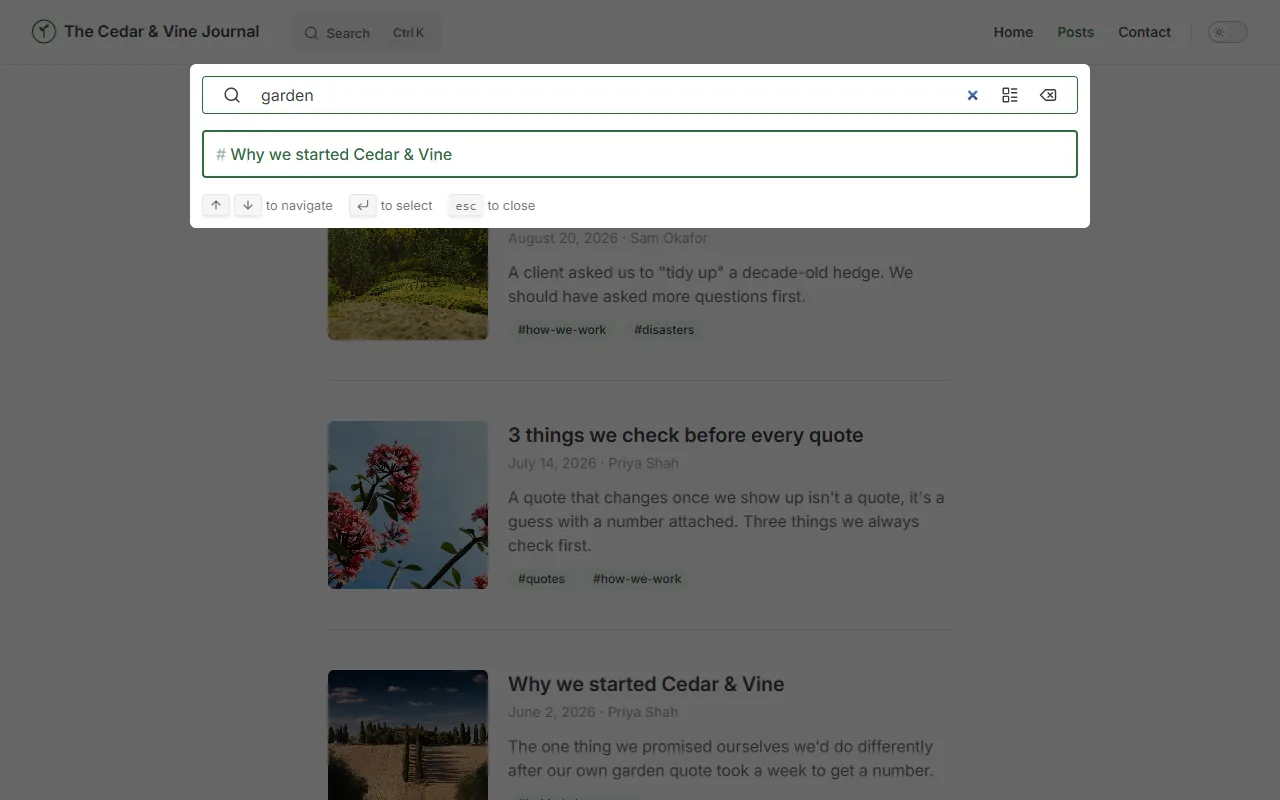
Search is built in. Press / or Ctrl K on any page and start typing:
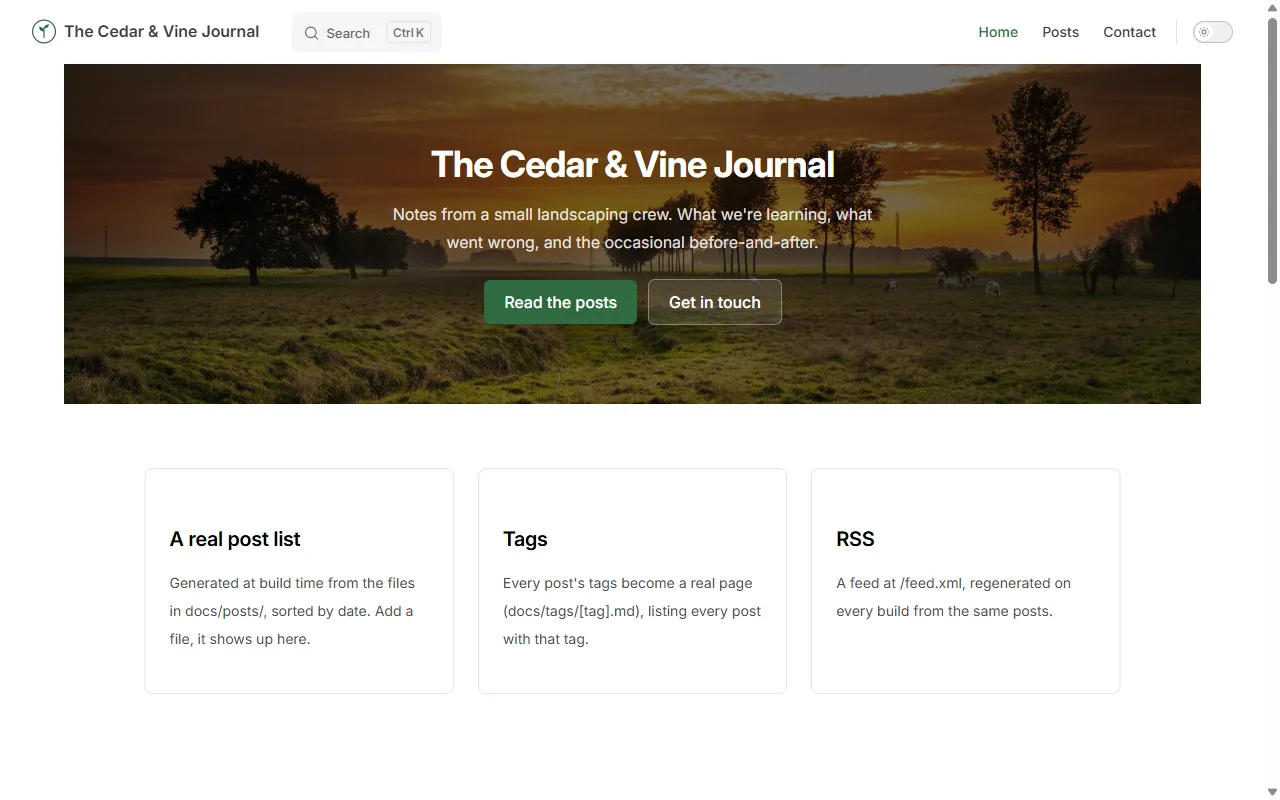
Here is the finished example, if you want to click around before you start.
Is a static site enough for a blog?
For most blogs, yes. A static site is a folder of pre-built HTML files with no server or database behind it, so there is nothing to patch, nothing to break into, and every page loads as fast as a plain HTML file. That is also why it can be hosted for free.
The one thing a static site cannot do by itself is receive a form, because there is no server to send it to. A form backend fills that gap: the form posts to the backend's address, and the backend emails each message on to you. That is the part BootForm does here, on its free plan.
When a static site is the wrong choice: if you sell products, need customer logins, or the person updating the site will never touch a text file, use a shop platform or a CMS instead. A static blog suits people who are happy to write a post as a file.
Two templates, pick one
Both are free, open source (MIT), and ship with a working contact form.
| first-website | vitepress-blog | |
|---|---|---|
| What it is | One page, plain HTML | A full blog built with VitePress |
| Blog, tags, RSS, search | No | Yes |
| Setup | Browser only, about 15 minutes | Browser only (or locally with Node.js) |
| Good for | Your first page on the internet | A site you will keep adding posts to |
The rest of this post builds vitepress-blog. If one page is all you need, first-website's README walks you through the same steps for a single page.
Step 1: Make your own copy
Open github.com/BootForm/vitepress-blog, click Use this template, then Create a new repository. Keep the name vitepress-blog and make it public.
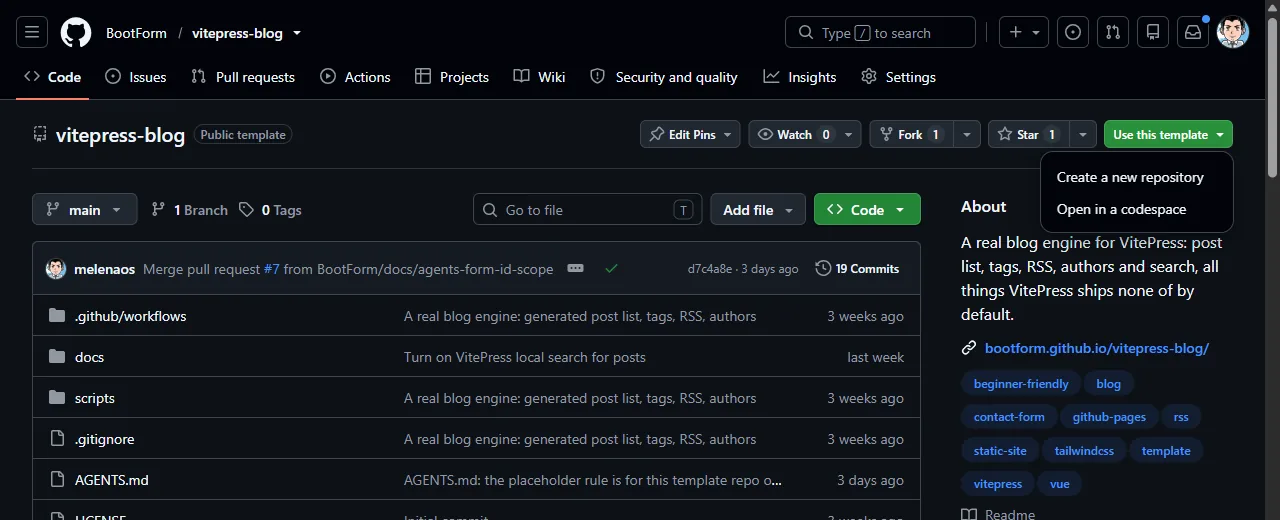
Keeping the name saves you a step. If you rename it, the README's Step 1 lists the two lines to change to match.
Step 2: Turn on GitHub Pages
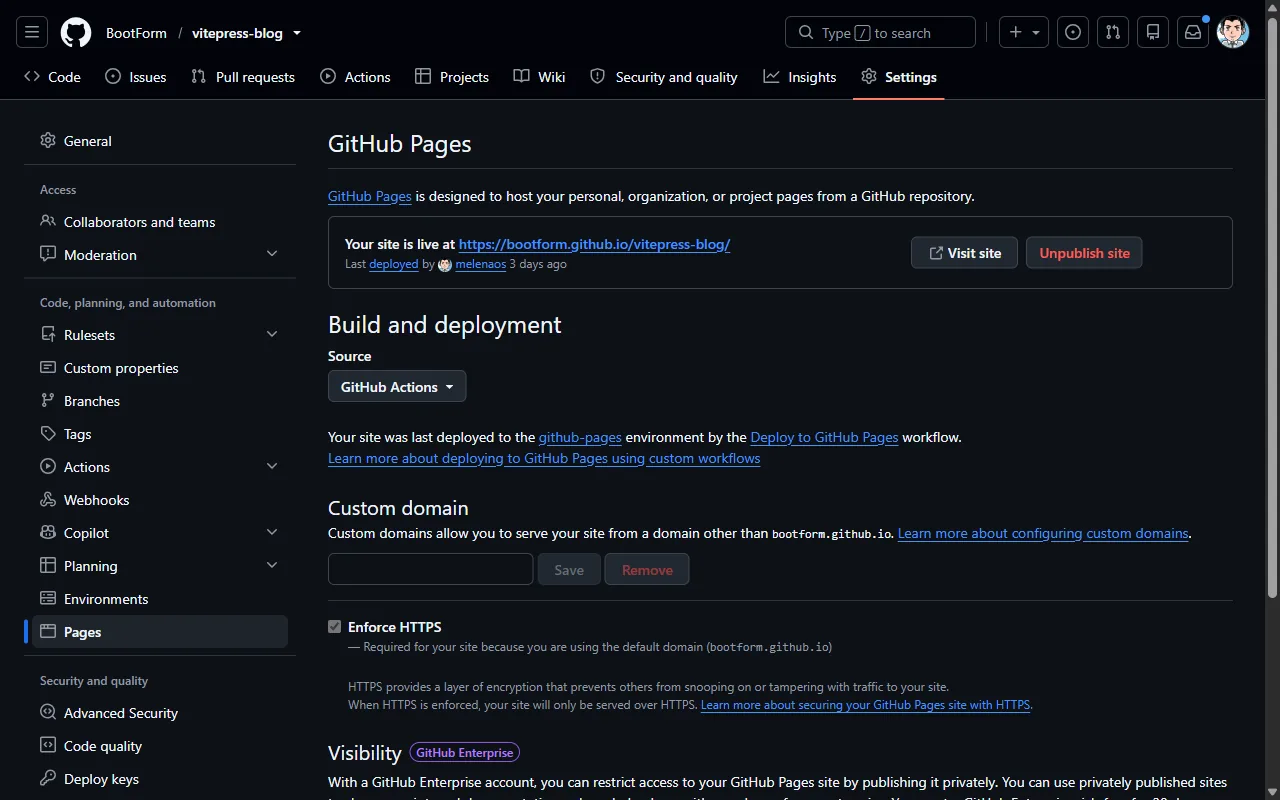
In your new repository, go to Settings, then Pages, and set Source to GitHub Actions. From now on, every change you save builds the site and publishes it by itself. The template already includes the workflow that does this.
Step 3: Make it yours, in the browser
On your repository's main page, press the full-stop key (.). GitHub opens github.dev, a full code editor in the browser.
Look for CHANGE ME. The places that matter:
docs/.vitepress/config.mts: the blog's title and description.docs/index.md: the home page text.docs/.vitepress/theme/style.css: your brand colour.docs/.vitepress/authors.ts: your name, instead of the example authors.scripts/generate-rss.mjs:SITE_URL. Put your own GitHub username in place ofyourname, otherwise the feed's links point at someone else's address.
Every post is a Markdown file in docs/posts/. The top of each one says its title, date, author and tags:
---
layout: page
title: Your post title
date: 2026-10-15
author: priya
tags: [some-tag, another-tag]
---
To write a new post, copy one of the example files and change it. The post list, the tag pages, the RSS feed and the search index all rebuild from whatever is in that folder, so there is no other file to update.
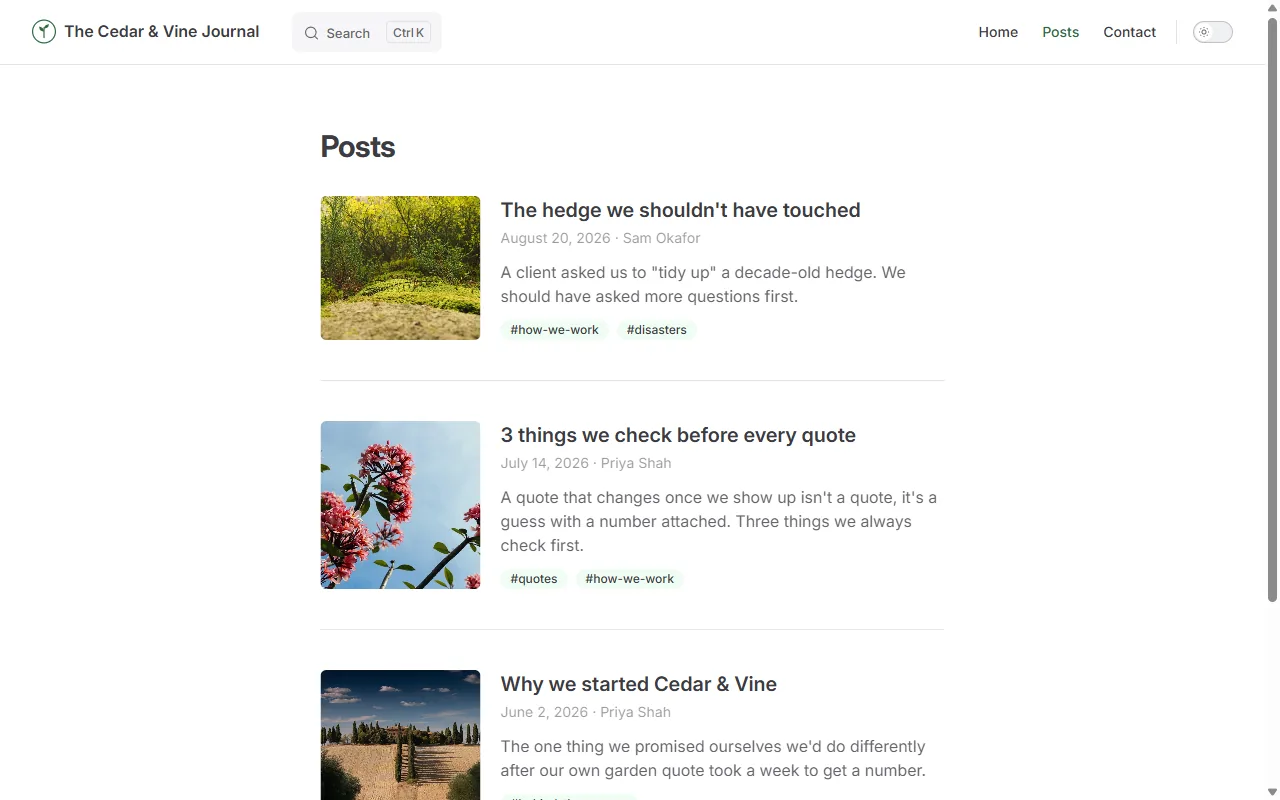
Don't commit yet. The contact form goes in the same commit.
Step 4: Connect the contact form
The contact page (docs/contact.md) is already built. It just needs somewhere to send messages.
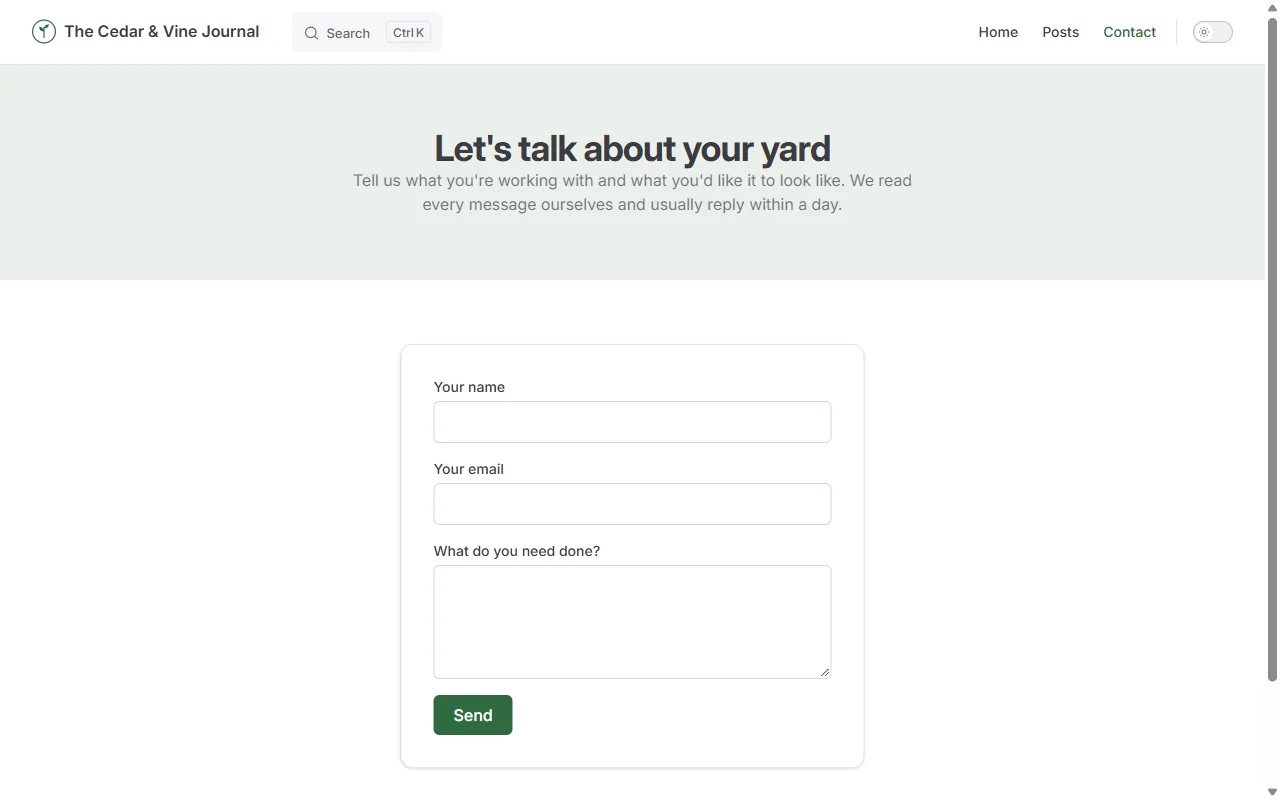
- Open BootForm's UUID generator and copy the ID it gives you. That ID is your form. There is nothing to sign up for yet.
- In
docs/contact.md, find__YOUR_FORM_ID__in the form'sactionand paste your ID over it.
A BootForm form ID is a UUID you generate yourself. Pasting it into a form's action makes the form work straight away, and the first person to claim the ID receives everything sent to it. So use the ID that was generated for you, never one you saw in a tutorial (this one included).
Leave the hidden bform_website field in the form alone. It is BootForm's spam trap: bots fill it in, people never see it, and while the honeypot is on (it is by default), a submission without it is treated as spam. More in Spam protection.
Now open the Source Control panel on the left, write a message such as "Make it mine", and click Commit & Push.
Step 5: Go live and send yourself a message
Open the Actions tab of your repository. The deploy run takes about a minute; when it turns green, your site is at https://yourname.github.io/vitepress-blog/.
Open the contact page, fill it in and press Send. Because nobody owns this form yet, BootForm holds the message and shows you a page offering to claim the form. Create a free account there (signing up with GitHub is quickest) and the form is yours: the waiting message shows up in your dashboard, and new messages are emailed to the address you signed up with.
Until it is claimed, a form holds up to 10 messages for 48 hours, so claim it before you share the site.
How much does it cost?
Nothing, for a blog like this one. GitHub Pages hosts a public repository's site for free, within soft limits of 1 GB per site and 100 GB of bandwidth a month. BootForm's free plan adds the contact form, with 150 submissions a month across up to 3 active forms, email and Discord notifications, and spam protection. See pricing for the paid plans.
A custom domain is optional. The site works on its github.io address; your own domain costs whatever your registrar charges, and Setting up your computer covers pointing it at GitHub Pages.
One thing worth knowing: GitHub's own documentation says Pages is not meant to run an online business, an e-commerce site or software as a service. A personal blog, a portfolio or a small business's information site is the kind of thing it is for.
Frequently asked questions
Is GitHub Pages really free?
Yes, for a public repository. GitHub's published limits are 1 GB per site and a soft limit of 100 GB of bandwidth a month, which is far more than a small blog uses.
Can a static site have a working contact form?
Yes. The form posts to a form backend instead of your own server. With BootForm you point the form's action at https://f.bootform.com/ followed by your form ID, and each message is emailed to you and kept in a dashboard.
Do I need to install anything?
No. Everything in this post happens in the browser: GitHub's web pages and the github.dev editor. GitHub Actions builds the site for you. You can still run it on your own computer with Node.js if you prefer.
What happens to messages before I sign up?
BootForm holds up to 10 messages for 48 hours on a form nobody has claimed yet. Claim the form with a free account and they are delivered to you; after 48 hours unclaimed, they are deleted.
Can I use my own domain?
Yes. GitHub Pages supports custom domains with free HTTPS. You buy the domain from any registrar and point it at GitHub; Setting up your computer walks through it.
Where to go next
- Add more to the pages. site-sections has 27 copy-paste sections (heroes, pricing, FAQs, footers) written to work inside these templates.
- Let an AI agent do the editing. Each template ships with an
AGENTS.md, and the Claude Code plugins can add sections, new kinds of content and a theme for you. - More templates. Starter templates lists the rest, including a one-page business site that ends on your own domain.
- Using another site builder? The Jekyll, Vue and plain HTML guides show the same form in each.
Start with the template: the whole thing takes about fifteen minutes.